I am dying to own a Silhouette Machine!!! Grosgain is having a giveaway that ends August 31st! Head on over and enter...and give it to me if you win! (Just kidding....kind of) :)
SILHOUETTE MACHINE GUEST GIVEAWAY!!!!
8.28.2010

Last minute baby shower gift!

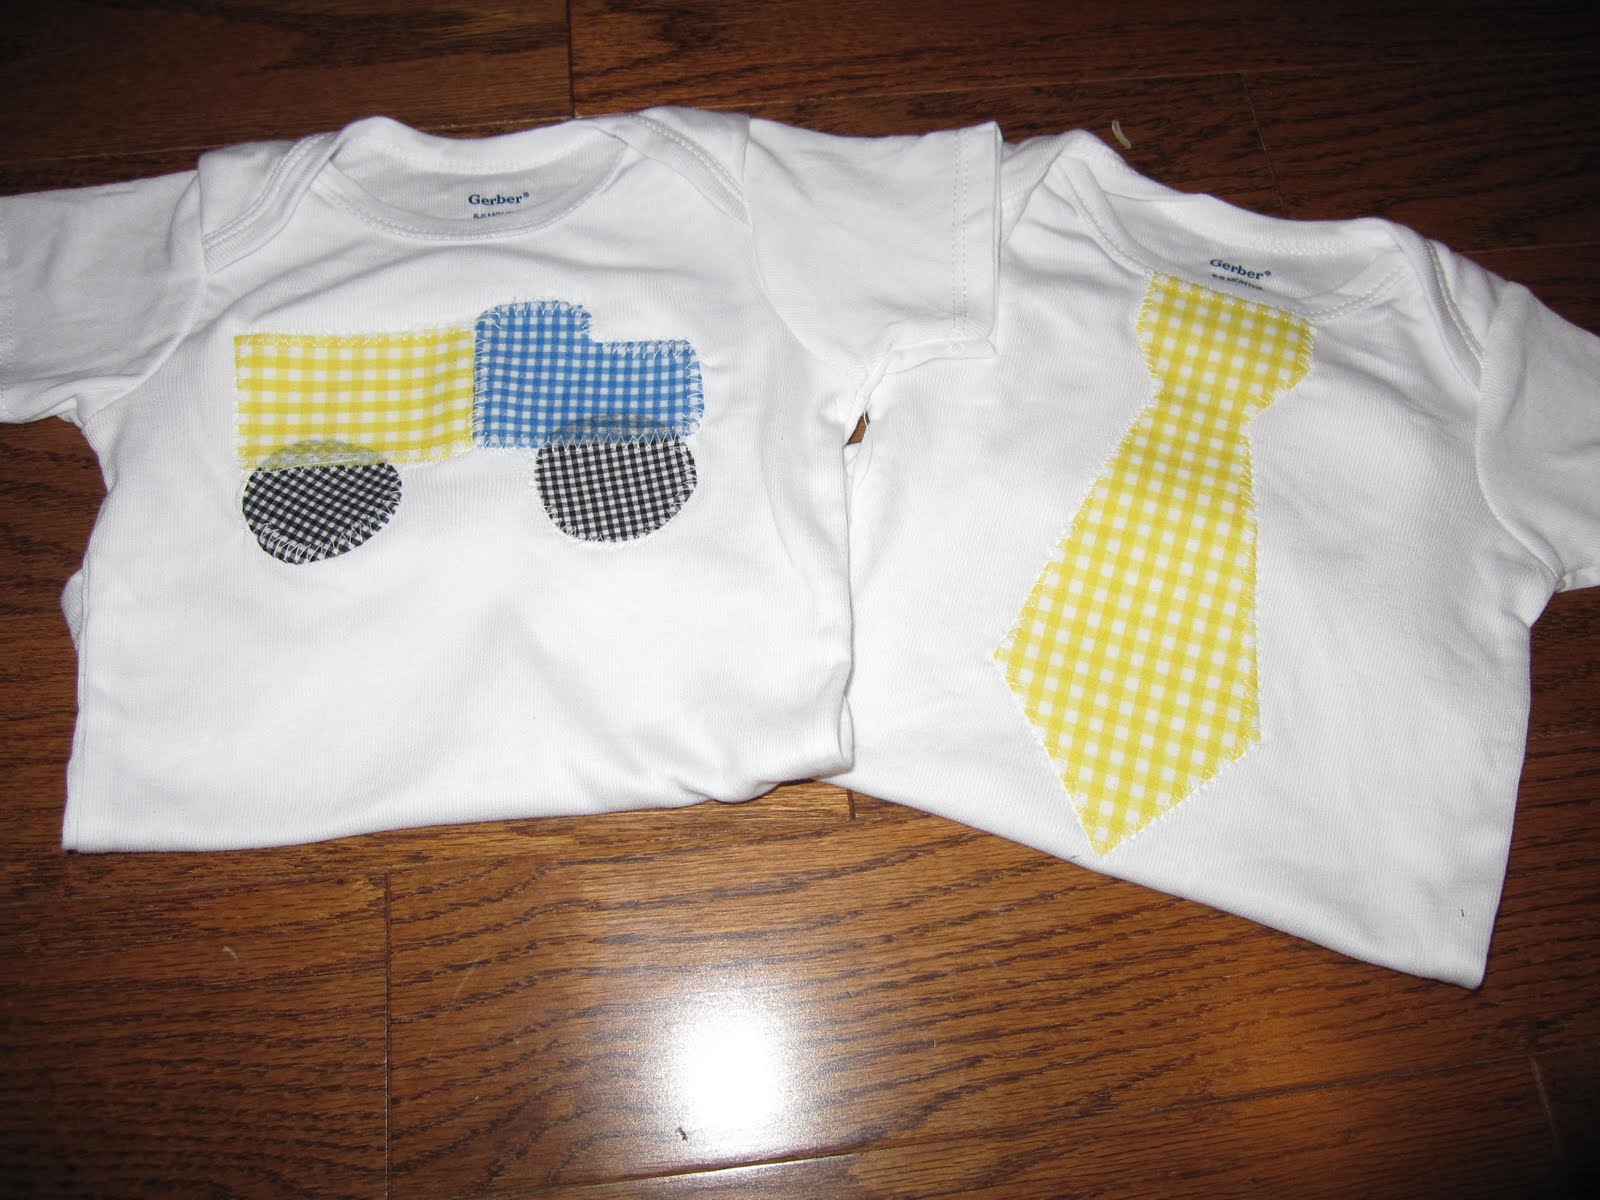

8.23.2010
Canvas Look Alike
Well, Hellooo! It's been a while. We had an awesome time on our cruise in Alaska. What a gorgeous state! It was so incredible to experience the sights with family and I know this vacation will be remembered for years to come.
 As soon as we got back, though, it was back to school for me! And an interesting back to school it was. I have taught Kindergarten for 4 years. At the last minute I ended up having to change to a new position which kind of threw me for a loop. I think God does that sometimes to get us out of our comfort zone. Although I am sad about not having my own Kindergarten "Babies", I am up for the challenge and excited to try something new!
Anyways, I've been doing some crafting lately and wanted to share it with you! I adore canvas prints and wanted to have some our wedding pictures printed that way, but I didn't really want to spend $70-$100 for each one. Then I found this on Kristen Duke's Photography website and couldn't wait to give it a try.
I went to Sam's and got 3 12 x 16 wedding prints made. All three cost me $8.77. Then I went to Lowe's and got a 16x 36 board for $7. The friendly man at Lowe's cut it for us for free! They are so nice! I came home and spray painted the sides of all three boards.

 Then I set the pictures on the top and mod podged them on the board. I decided to put a layer of mod podge on top of the picture also and it really made it look like canvas.

We hung them in our bedroom today! I love how they turned out and they add a lot to a wall that needed some sprucing up!

 What do you think? Pretty cute for $15.77. :) I made some stuff for a baby shower yesterday...will share that with you tomorrow!
 As soon as we got back, though, it was back to school for me! And an interesting back to school it was. I have taught Kindergarten for 4 years. At the last minute I ended up having to change to a new position which kind of threw me for a loop. I think God does that sometimes to get us out of our comfort zone. Although I am sad about not having my own Kindergarten "Babies", I am up for the challenge and excited to try something new!
Anyways, I've been doing some crafting lately and wanted to share it with you! I adore canvas prints and wanted to have some our wedding pictures printed that way, but I didn't really want to spend $70-$100 for each one. Then I found this on Kristen Duke's Photography website and couldn't wait to give it a try.
I went to Sam's and got 3 12 x 16 wedding prints made. All three cost me $8.77. Then I went to Lowe's and got a 16x 36 board for $7. The friendly man at Lowe's cut it for us for free! They are so nice! I came home and spray painted the sides of all three boards.

 Then I set the pictures on the top and mod podged them on the board. I decided to put a layer of mod podge on top of the picture also and it really made it look like canvas.
We hung them in our bedroom today! I love how they turned out and they add a lot to a wall that needed some sprucing up!

 What do you think? Pretty cute for $15.77. :) I made some stuff for a baby shower yesterday...will share that with you tomorrow!
7.17.2010
Wall Fun-ness and Chair Cusion Blues
We just recently (and by recently I mean April) painted our bedroom and got some new curtains, but I haven't figured out what I want to put on the walls. The other day, I found this framed wrought iron thingy at the thrift store for $1.99.

I decided that I didn't really like that it was brown and black...so I spray painted the frame black.

I'm happy with how it turned out....especially for $1.99. Now all I need to do is hang it up....that seemed to be too much for me last night!

Check out these fabulous mauve colored seat cusions! Yes, I know they are disgusting...No, they were not in my house. These lovely cusions have been in my Kindergarten classroom rocking chair for the past 4 years. I went up to school last week and decided that it was time to kiss the mauve goodbye! I chose a blue and white checked fabric....

I think I'll be much happier with these!!!


I decided that I didn't really like that it was brown and black...so I spray painted the frame black.

I'm happy with how it turned out....especially for $1.99. Now all I need to do is hang it up....that seemed to be too much for me last night!

Check out these fabulous mauve colored seat cusions! Yes, I know they are disgusting...No, they were not in my house. These lovely cusions have been in my Kindergarten classroom rocking chair for the past 4 years. I went up to school last week and decided that it was time to kiss the mauve goodbye! I chose a blue and white checked fabric....

I think I'll be much happier with these!!!

I hope you're having a wonderful Saturday....I'm working on a Christmas in July project. Pictures to come! :)
7.14.2010
Delcious Goodness
Can I tell you how much I am DYING to make these??? It screams all things I love: Cupcakes, Cookie Dough, Delicious frosting!!! Will someone please have an occasion so I can make these yummy things without feeling so guilty???
7.06.2010
Wreath for 30 cents
 I love thrift stores. The other day I got this cool wired, gold rimmed burlap ribbon for 10 cents (YES...10 CENTS!!)each. I grabbed all 3 and knew exactly what I would do with them!! The other day I saw this tutorial on Where the Heart Is. I decided this ribbon would be perfect for a "burlap" wreath.
I used a wire coat hanger, my burlap ribbon, and a "G" that I had been trying to figure out what to do with.

I started by bending the hanger into and round shape. Then I un-twisted the end so I could poke the ribon through. Since the ribbon was wired it was really easy to fold and stick through the hanger. I ended up using all 3 rolls of ribbon to make the wreath look really full. When I got to the end I used pliers to twist the hanger. Then I added a green ribbon to the top and hung the "G" on the ribbon.

This is what I ended up with. I hung it on a mirror I have by our front door and I really like how it looks. I want to get a wooden "G" and paint it brown to make it pop a little more, but for now this cute little "G" works.

This cute addition to our foyer cost me only 30 cents for the ribbon...everything else I had laying around the house.
I hope you have a terrific Tuesday!!!
7.05.2010

This is Karey. She and her husband Phillip are some of our best friends. They are so fun to be around and we love to hang out with them! They are expecting a baby boy in September and we couldn't be more thrilled.
On Saturday, my mom and I hosted a shower for Karey and her sweet little one. The baby's room is decorated in frogs so we used that theme for the shower. The colors were greens and yellows. 

This was Karey's corsage. I made a fabric flower using coordinating fabric and then sewed a pin on the back.

The sweet baby's name is Sanders. I made this banner to hang over the gift table. I used green and yellow fabric and appliqued the letters of his name onto coordinating fabric. Then I sewed them onto brown ribbon to hang. I love the way it turned out and brought the colors together!

We used baby clothes on a clothes line and children's books for decorations on the mantle. The little plant in the middle is in a glass container that looks like a block and spells "Baby."
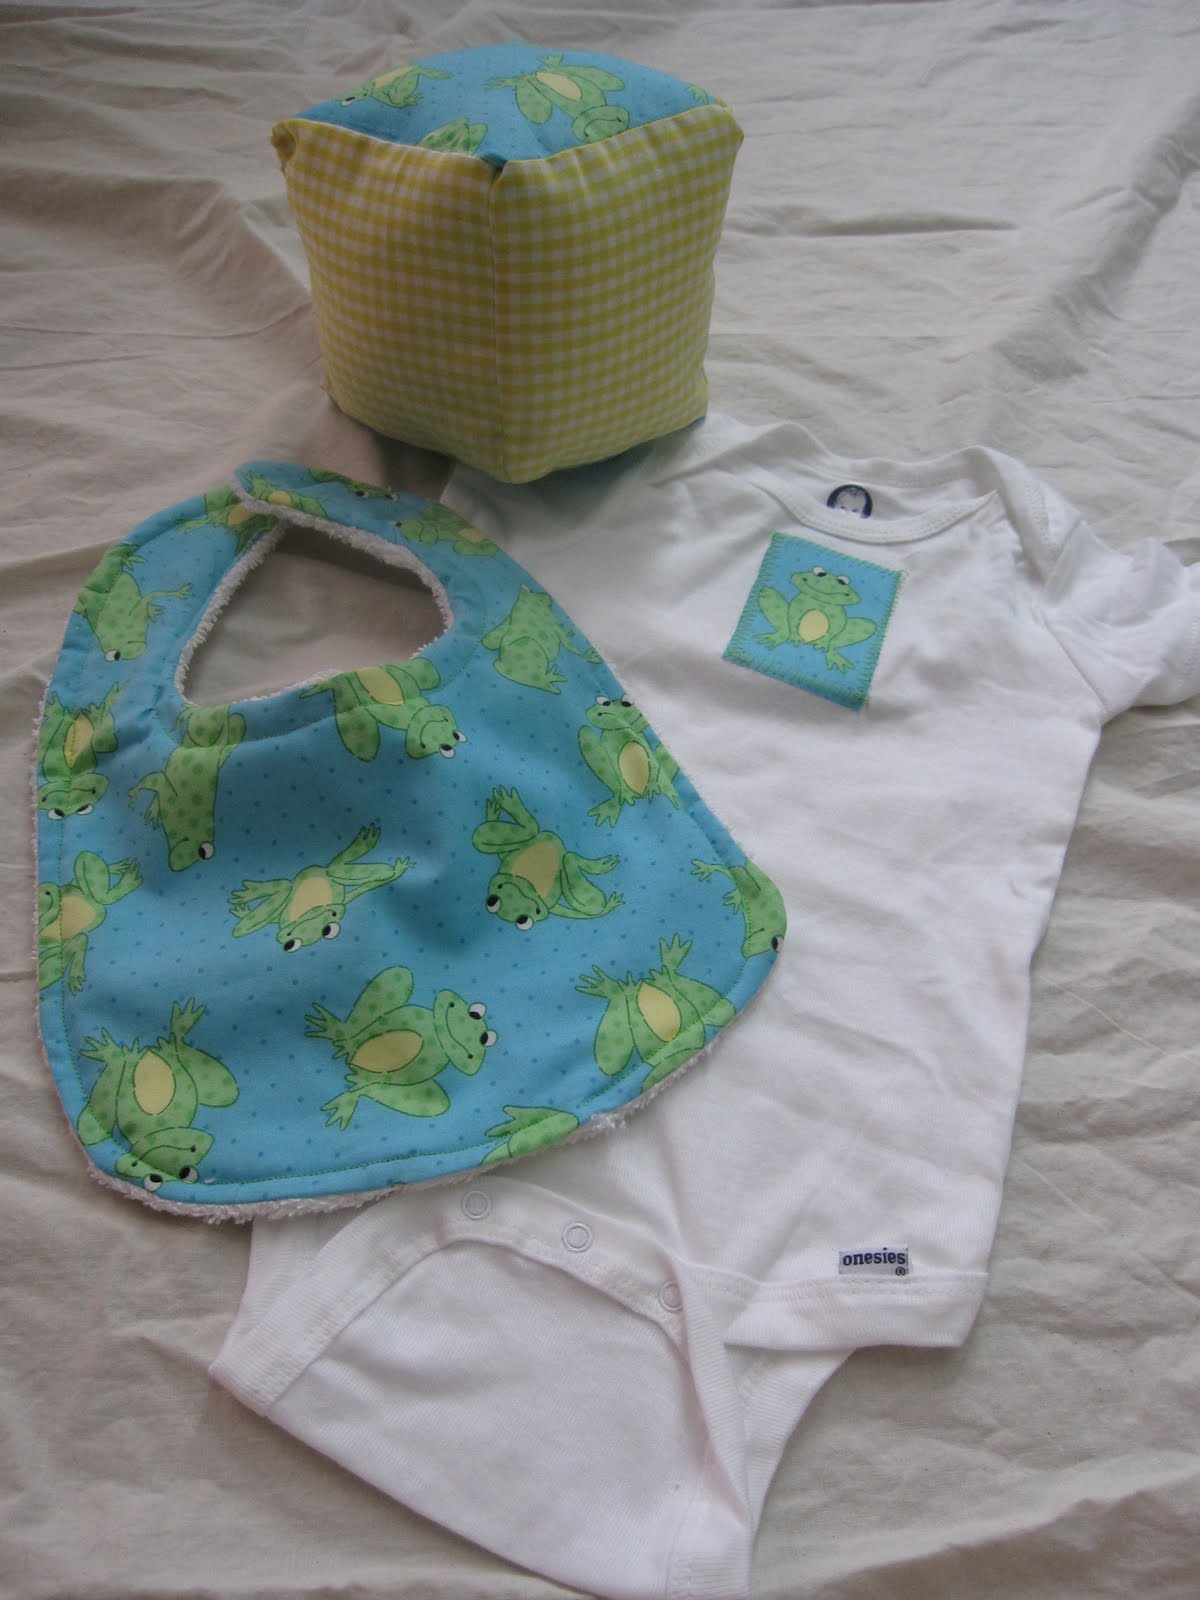
To stay with the theme I made a matching set for the baby. I used this tutorial for the bib and this one for the baby block.

My mother-in-law found this adorable green and pink frog. He was perfect on the drink table!!


Karey-Mom and I had a blast planning this shower!! I can't wait to meet that beautiful boy!
Subscribe to:
Posts (Atom)